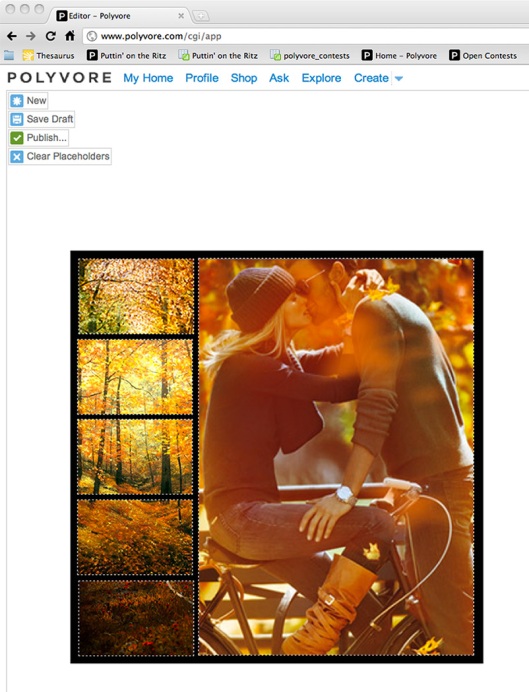
This is a beginner’s tutorial on using a Polyvore template to create a set.
Step 1 – Find a set containing a template that you like. Click on the template below the set and it will bring up the template’s detail page.
Step 2 – On the detail page, select the link “Fill this template” located in the right column. NOTE: you will not see a link called “Edit this template” unless you are the template creator.
Step 3 – You will now be in the Editor for filling in templates. The only items that you can put into this set are the ones in the Placeholders.
Step 4 – Drag your first item from the right side of the page and drop it into the Placeholder that you want to use. Different Placeholders will become highlighted when you roll over them (couldn’t capture that in a screen shot). When you initially “drop” the item, it will expand to fit either the width or the height of the Placeholder. In the example below, it expanded until it fit the width.
Step 5 – To adjust the size of the item, click somewhere within the Placeholder (it doesn’t have to be the item, just the Placeholder … this is important to keep in mind when you are using layered templates since you may not be able to see the item). You’ll know if you’ve selected something when the Editor tools show up at the top of the window. There is a very limited set of options: Remove; Flop; Flip; Remove Background; and Fit. While there’s no label for the slider, this is what you use to resize the item. If you want to change the item back to its default, select “Fit.” When you have the size you want, you can move the item around by just clicking on it a dragging it to where you want it to be.
Step 6 – Continue filling in the Placeholders until you are happy with your results … and just publish it the same way you do any other set. You do not have to fill in every Placeholder, but you must have at least one filled in order to publish the set. In the example below, I just filled in the little boxes with random pictures of leaves.
Step 6 (alternate) – I like to use the same image in multiple Placeholders and size/adjust it to look like a single picture. This is tricky because you need to find an image that you can size large enough to span the desired Placeholders. In the example below, the three Placeholders in the middle hold the same image. I needed to find an image that was tall so I could size it big enough to span the 3 Placeholders (also because the area I wanted to span was tall). I then found some other items for the top and bottom Placeholders that looked similar enough to look like a continuation of the middle ones.


Fabulous tutorial, Jill! I think this will be useful for everyone on Polyvore. Jess Lee should put a link to this page on the PB blog! Hugs, Elaine (sophisty)
Do you have to use a placeholder in all of your templates? It won’t even let me publish without one. I usually just make the placeholder as small as possible so I can publish it. Cause, I don’t even know what they’re for… Help! I’m a newby to Polyvore!!!!!! 😛
It’s been a LONG time since I’ve done anything on Polyvore, so I really don’t remember.
Brilliant! Polyvore and several other websites should hire you to make tutorials!!! xox